Original Photo
- Shot with a hand-held camera at the Tulsa Zoo through dingy glass in low light.
- Camera: Canon EOS 5D Mark III
- Lens: Canon Zoom Lens EF 70-200mm 1:2.8 L IS II USM
- Settings: manual mode, f/5.6, 1/100 sec, ISO 800, 200mm, no flash
- Image size: 5760 x 3840 px
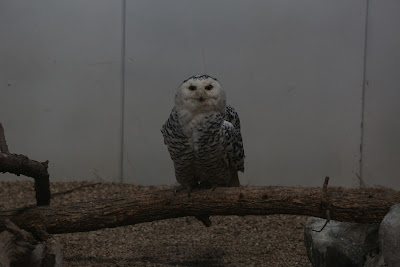 |
| Original Snowy Owl Photo |
Instruction Conventions
- Layers are added at the top of the Layers list unless otherwise indicated.
- The latest created layer is the active layer and the succeeding instructions operate on it unless otherwise indicated.
Step 1
- Crop to taste. (I cropped this one to 1234 x 1346 px.)
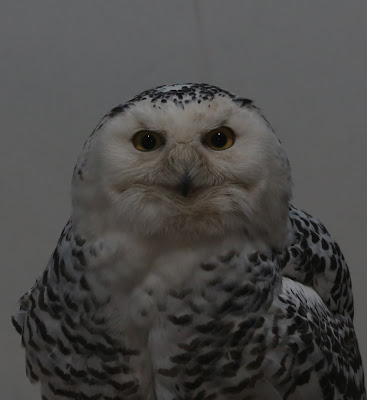 |
| Cropped Image |
Step 2
- New Layer (Paper icon at bottom of Layers dialog)
- Layer Fill Type White
- OK
- Layer Mode Soft light
- Opacity 100%
- Layers dialog > right-click > New from Visible
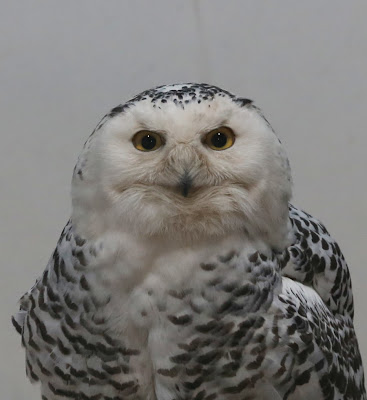 |
| After Brightening |
Step 3
- Duplicate the visible layer (from the end of Step 2)
- Filters > Blur > Gaussian Blur
- Blur Radius 11
- Blur Method RLE
- OK
| Gaussian Blur 11 |
Step 4
- Layer Mode Grain extract
- Layers dialog > right-click > New from Visible
- Delete blurred layer.
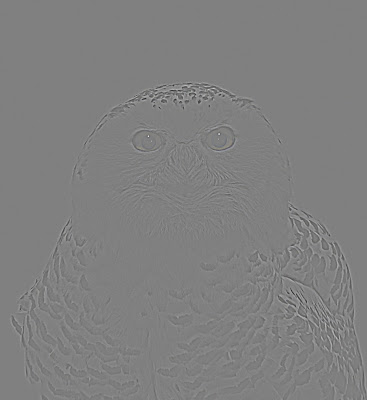 |
| Grain Extract |
- Select grain layer.
- Layer Mode Grain merge
- Opacity 80%
| Grain Merge 80% |
Step 5
- Duplicate the brightened layer from the end of Step 2 and move it to the top of the Layers list.
- Layers dialog > right-click > Add Layer Mask
- White (full opacity)
- Add
- Ellipse Select tool
- Black foreground color
- Create an oval selection around each eye and use the Bucket Fill tool to fill the selections with black.
- CTRL+SHFT+A (to deselect)
- Filters > Blur > Gaussian Blur
- Blur Radius to taste, keep it small
- OK
 |
| Layer Mask |
| Sharp Eyes on Fuzzy Owl |
Step 6
- New Layer (Paper icon at bottom of Layers dialog)
- Transparency
- OK
- Ellipse Select tool
- White foreground color
- Create an oval selection around each eye and use the Bucket Fill tool to fill the selections with white.
- CTRL+SHFT+A (to deselect)
- Filters > Blur > Gaussian Blur
- Blur Radius to taste
- OK
- Layer Mode Soft light
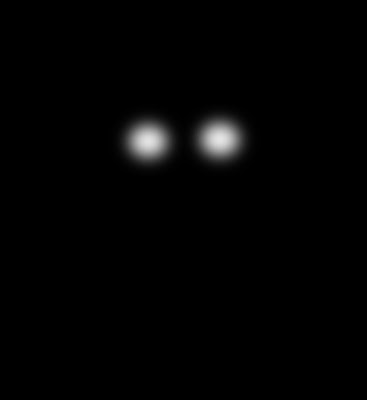 |
| Highlights for Eyes (Black used to show white areas. Black area is actually transparent.) |
| Bright Eyes |
Step 7
- Layers dialog > right-click > New from Visible
- Remove the background using your favorite tool. (I used the Free Select tool following the method I describe in Which Tool Should I Use to Cut Out an Irregular Image?)
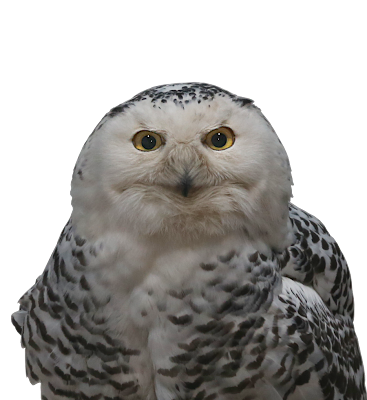 |
| No Background |
Step 8
- Create a textured background and move it below the cutout layer. (I used the method I describe in How to Create a Textured Background Using GIMP Filters.)
- Select the cutout layer and blur (Blur / Sharpen tool) or smudge (Smudge tool) the edges around the owl to make it look like not such a sharp transition.
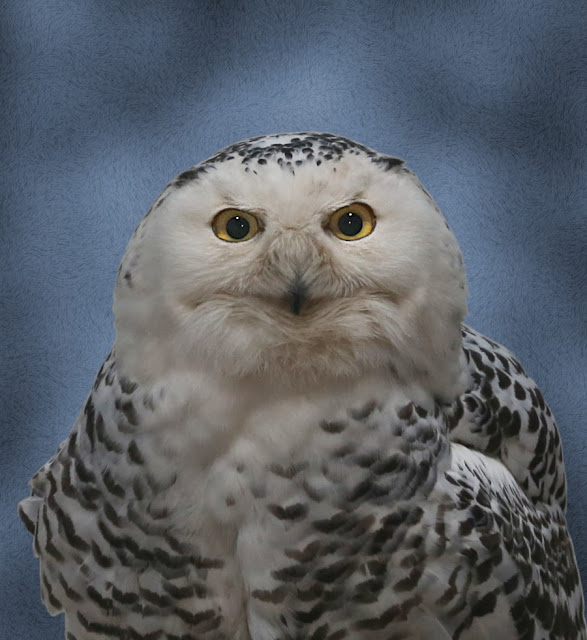 |
| You are under my mesmeric control. Give me all your mice. |

No comments:
Post a Comment